Hey Guys!
I am BACK! The upstairs reno is 95% FINISHED! WOO! So I will be back blogging about all my latest projects, because now I actually have the time to do the projects that have been on hold for the past 4 months :)! We are transitioning into the master bedroom upstairs, so I have been tackling the pieces I’ve been storing away in the basement and garage. Yay! Stay tuned for the upstairs reveal & some tips on how to do wainscoting.
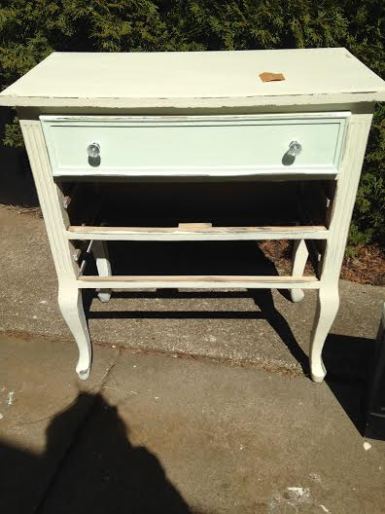
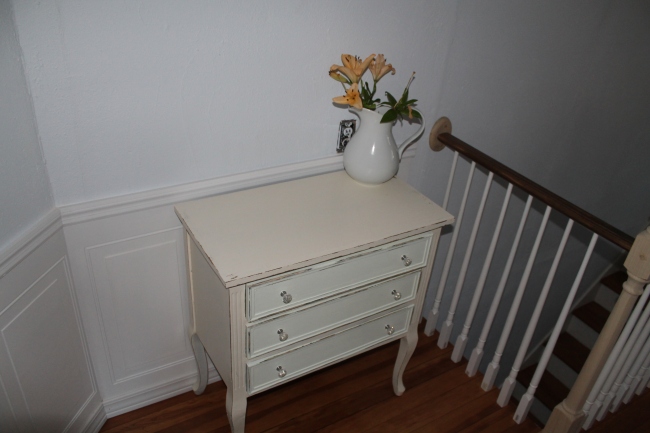
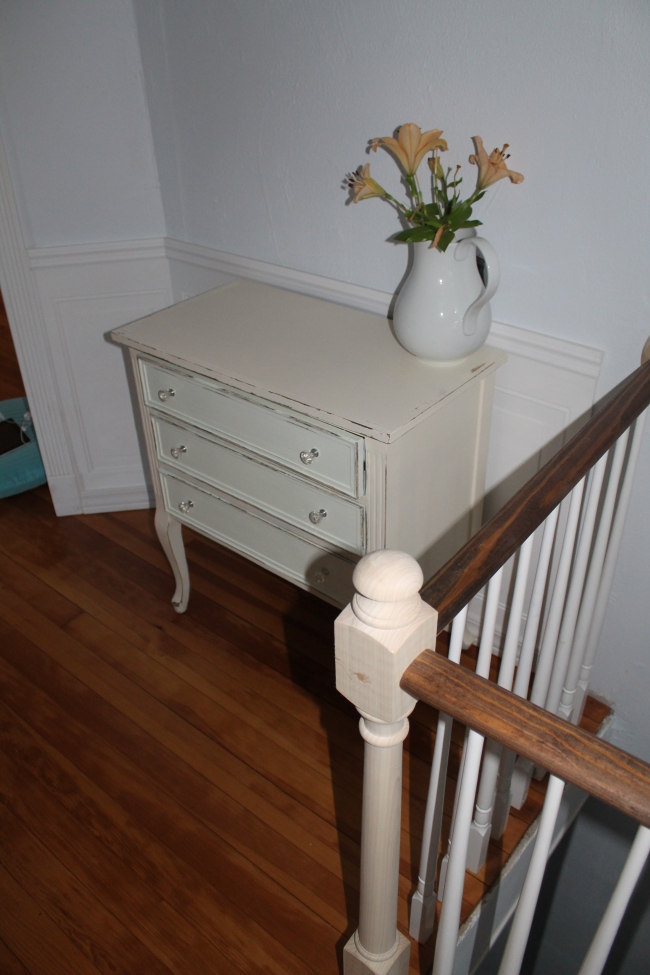
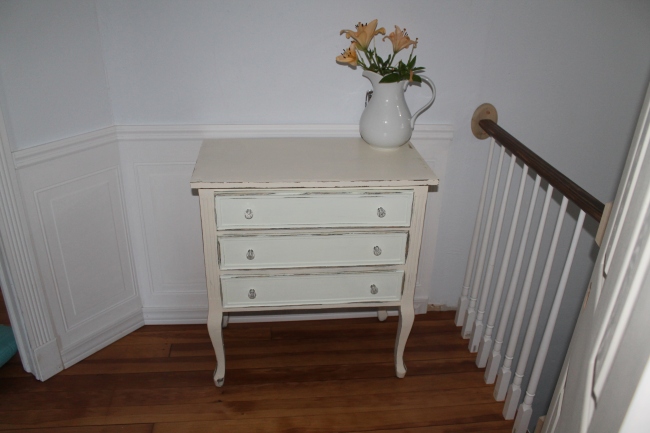
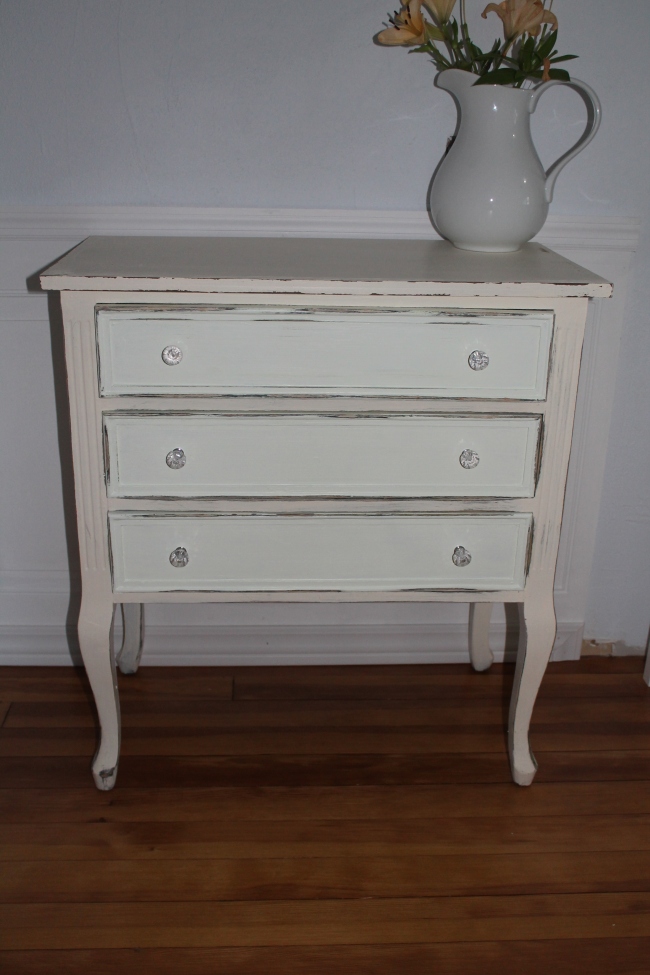
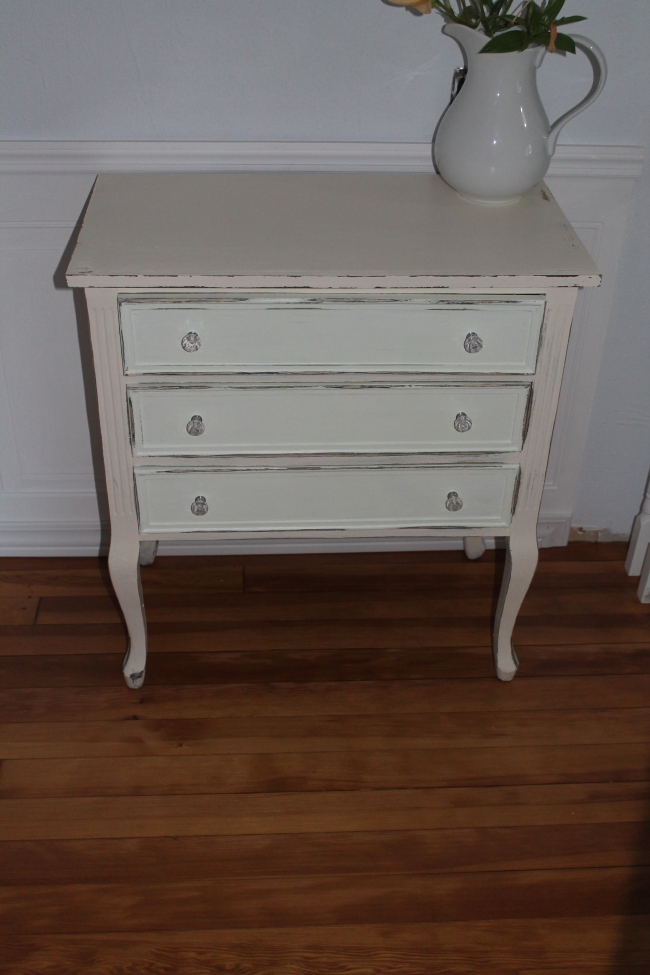
This fun dresser I originally bought for my bathroom reno. (I am making my own sink vanity). I have since then found the perfect piece for my vanity so this one is going to be used to store towels and such in the hallway. (Since I ripped our hallway closet down, whoops!) It was from a consignment shop for $35! I unfortunately don’t have a before picture, but it was originally black. I wanted to try out this metallic silver paint (Martha Stewart brand) so I first painted it with that and let it hang out in the house for awhile, but I wasn’t loving it. It was just silver and didn’t look like the faux “silver leaf” look that I was going for. Oh well. So I painted it again and I LOVE how it tuned out. Here’s a pic of it when I tried the silver paint. 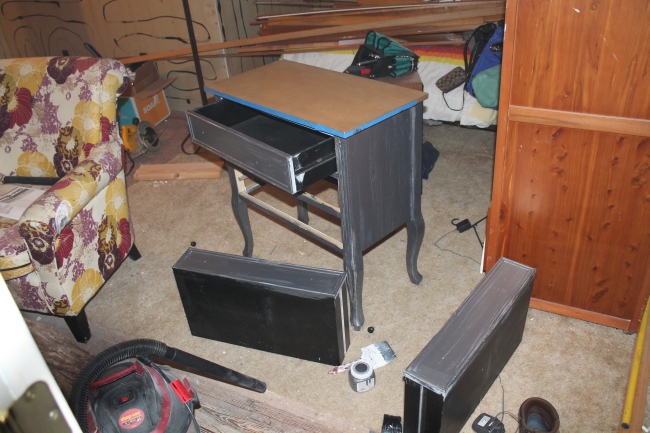
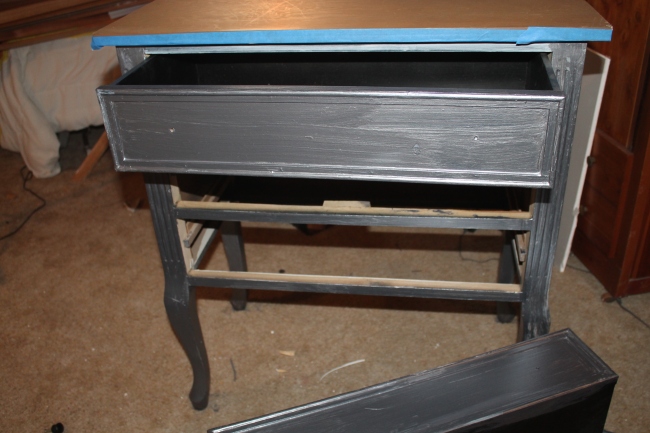
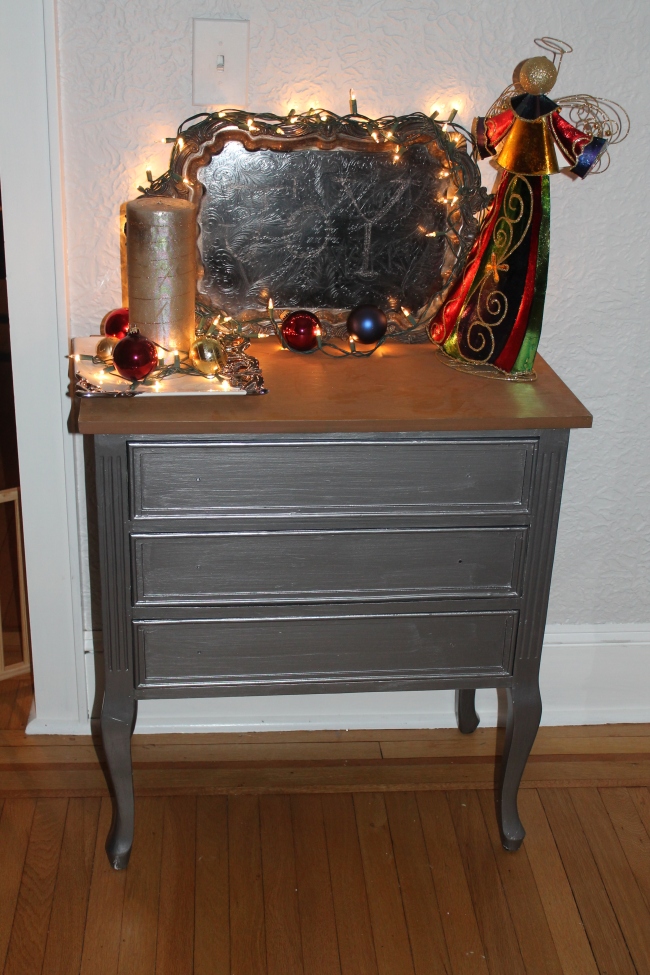
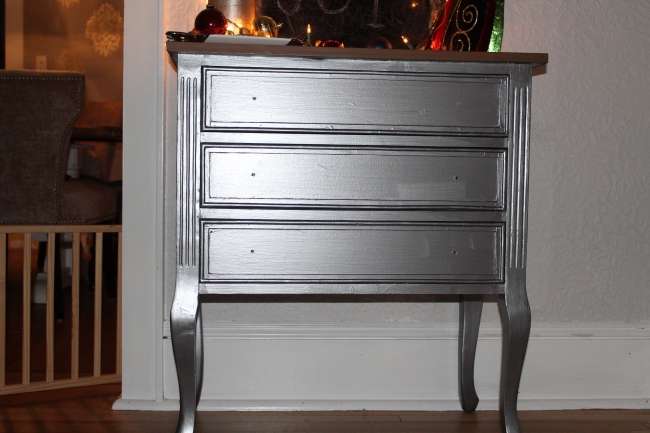 I didn’t even get around to putting hardware on it. I just wasn’t feeling the look! But if you’re into it, the paint is metallic silver by martha stewart found at Home Depot.
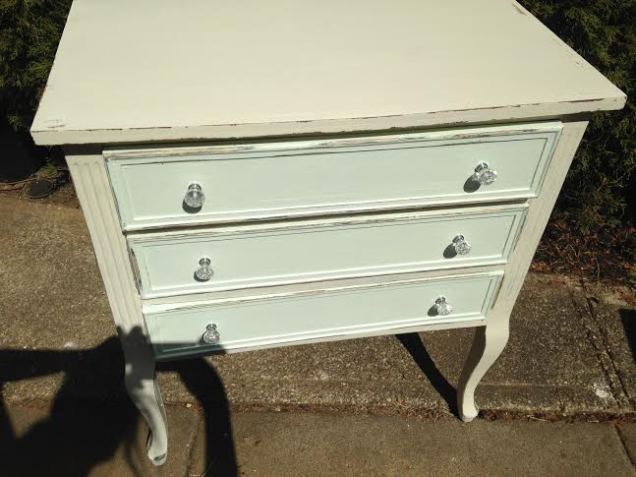
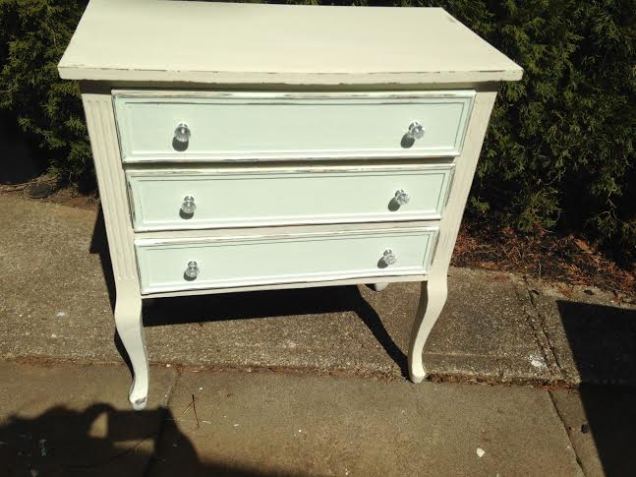
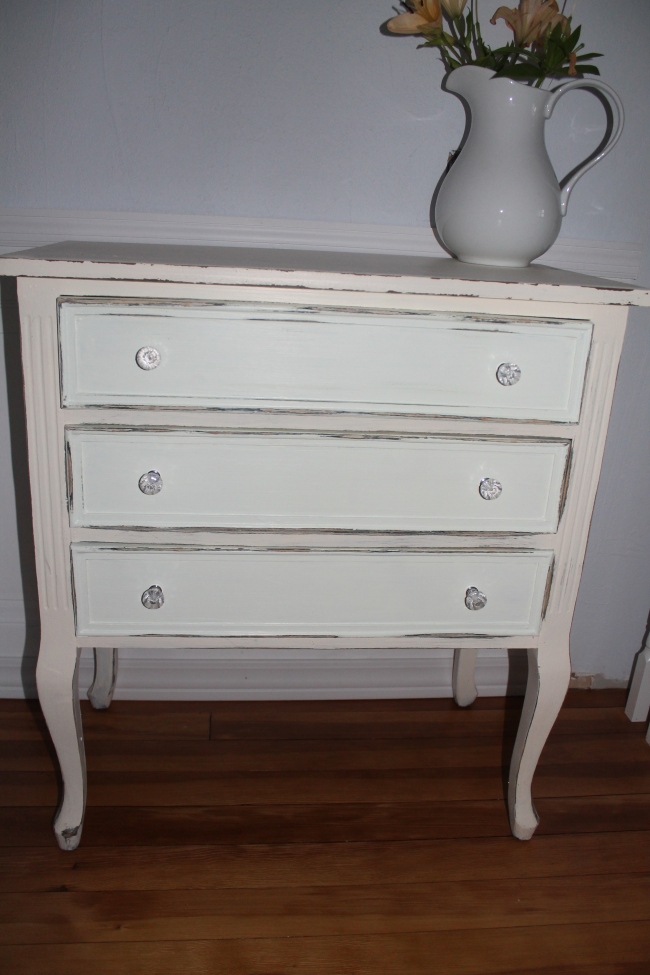
I removed the drawers and painted the piece a light beige (off white) that I had a sample of. This is my new thing. I am using ALL my sample paints to refinish furniture. I probably have about $100 worth of paint samples because of the upstairs, and they are the PERFECT amount for a small-medium size piece of furniture. So, **TIP** if you’re not painting too large of a piece, just buy a sample size in the paint color you want. It’s only $3 at Lowes for a sample paint. It will give you at least 3 coats!
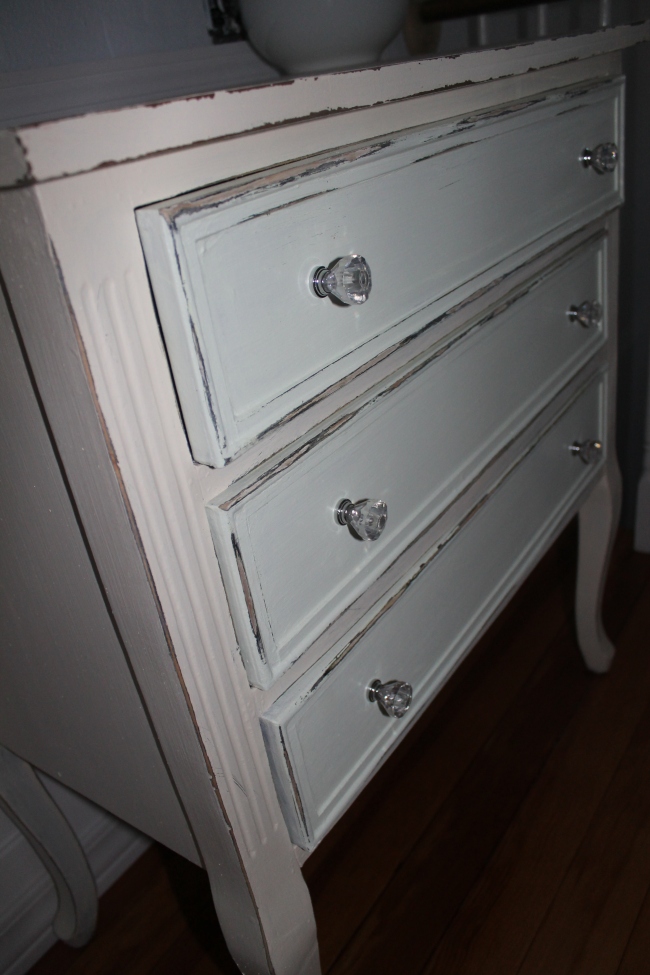
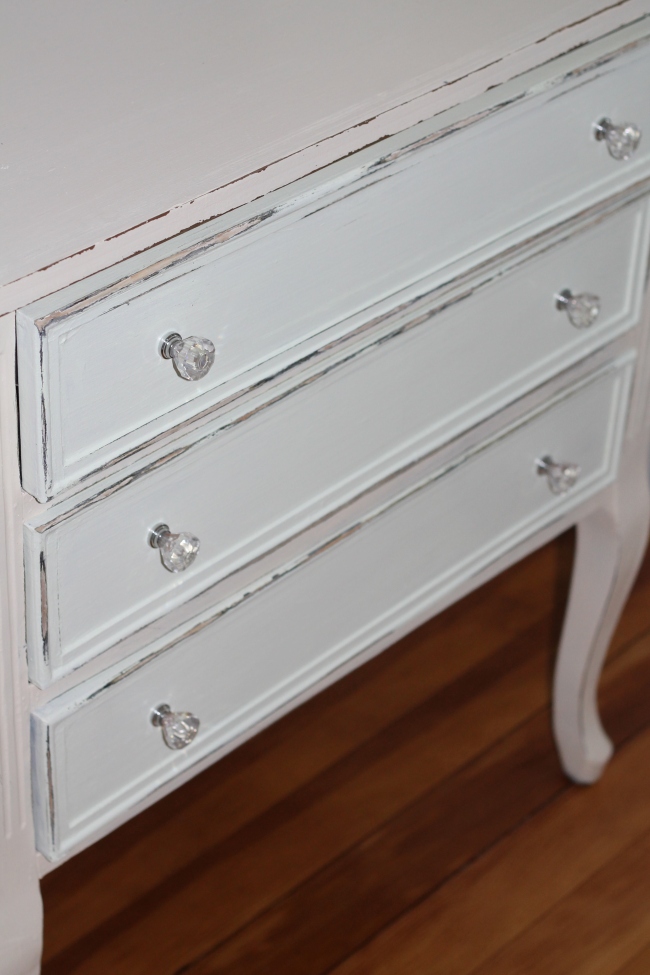
I painted the drawer fronts a mint color that I had a sample of. I LOVE how the color combo came out. It’s very light and airy (my favorite phrase for decorating a house). I put about three quick coats on all of it. I don’t like using foam brushes, I use bristle brushes, but that’s a total preference thing. **TIP** Always wash your brush out at the end of a project, otherwise it’ll get stiff and if you put it in a bag to keep it moist, the paint gets clumpy on the brush.
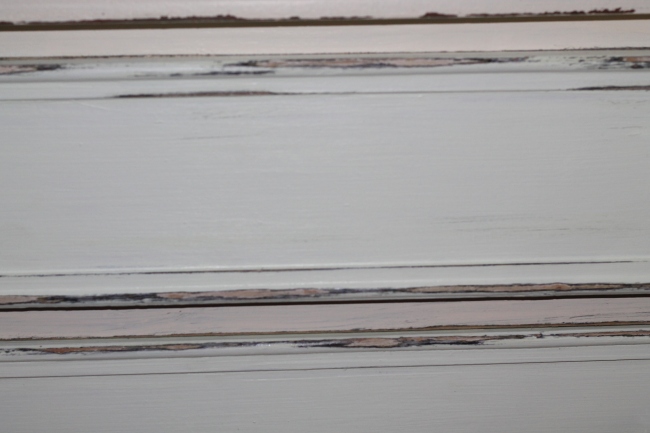
At the end of the day after I felt the dresser was good and dry (and because I don’t have patience to wait 24 hours), I took 60grit sandpaper and lightly sanded the edges down until I got to the original wood. I found these great crystal knobs on amazon that I put on in replacement of the plain knobs it came with.
It’s funny because I had bought all the materials to make DIY Chalk paint and then I was talking to my friend a sales lady at one of my favorite consignment shops who has been refinishing furniture for way longer than me and she agrees that good ol’ flat paint is just as easy to distress then any of these fancy expensive chalk paints. I don’t have any issues, so not really sure what all the fuss is about this chalk paint, so I may just have to try it out! So stay tuned :)!
Lastly, I slapped a coat of polyurethane on the top so that it doesn’t get “scuffed” up. Hope you guys enjoy!
XOXO,
Amanda Andy

